Cheap, DIY NAS
For a long time, I had a dream. A network attached storage (NAS) solution to keep my backups on.
I’m a little mad when it comes to backing up. Do not feel all right without at least 3 copies of the same thing on different places. When I was working on a 3d game engine project many years ago (was using DirectX8 using visual basic to be specific), I have lost 4 months of work to an MS DOS 6.22 installation disk that I carelessly used to recover my Windows 98 installation. It didn’t play well with my HDD that is larger than 2GB.
Today as a professional software developer, I wouldn’t be mad losing those codes as it is now my job to just trash away months of work when needed. It was crucial for me at that time. I have lost all my primitive code including frame animation stuff and this led me to a near 5 years off any coding work!
For a long time I have kept my file backups on CDs then DVDs and finally even Blu-ray media as a concurrency backups. Then broadband connection became standard and I discovered a great online backup service (Crashplan) which does not have any limitations including file extensions (which many services have limitations). With the latest version, it is also possible to use network drives as backup destinations when you install it user-only. Then the only missing part was the NAS.
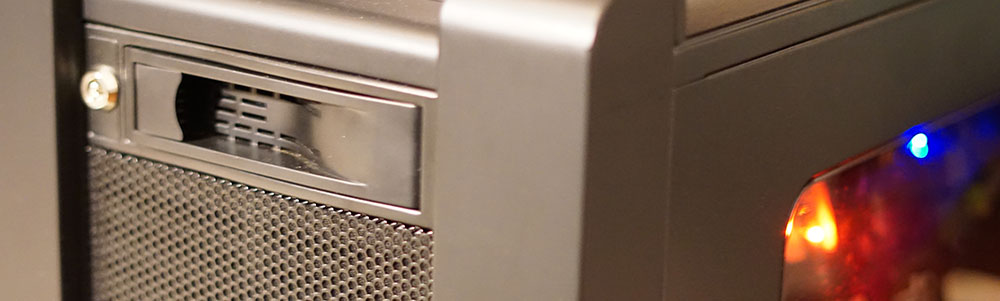
I am a DIY person. I does not make sense to invest $$ on something if I can make one and I had a Lemaker banana pi lying around with a SATA connector and gigabit ethernet! The only thing left is a housing for the disk and the SoC. After a failed attempt on building a case out of sheet aluminum, I’ve settled on using a computer case (and its computer :) obviously). Ordering a CD bay HDD rack and a cheap power supply (which I do not recommend if you don’t have other backup destinations), I was ready to use my 4TB WD red.

After writing an armbian (Debian 9 - Stretch) image on the SD card I have added the package repositories for openmediavault:
cat <<EOF >> /etc/apt/sources.list.d/openmediavault.list
deb http://packages.openmediavault.org/public arrakis main
EOF
Then installed the openmediavault 4 (Arrakis) package:
export LANG=C
export DEBIAN_FRONTEND=noninteractive
export APT_LISTCHANGES_FRONTEND=none
apt-get update
apt-get --allow-unauthenticated install openmediavault-keyring
apt-get update
apt-get --yes --auto-remove --show-upgraded \
  --allow-downgrades --allow-change-held-packages \
  --no-install-recommends \
  --option Dpkg::Options::="--force-confdef" \
  --option DPkg::Options::="--force-confold" \
install postfix openmediavault
# Initialize the system and database.
omv-initsystem
After this point you should be able to login to the OVM web interface using ‘admin’ and ‘openmediavault’ as username - password and manage your NAS. Still, you can use SSH to manage your server if you are a Linux person. Enabling OMV-Extras is nice as it provides many additional packages including PLEX media server.
With this setup I was able to achieve up to 3040 Mb/s write rate to the NAS disk, which is more than enough for my purposes at the time being, especially considering the cheap price point.
Leave your comments / suggestions below!